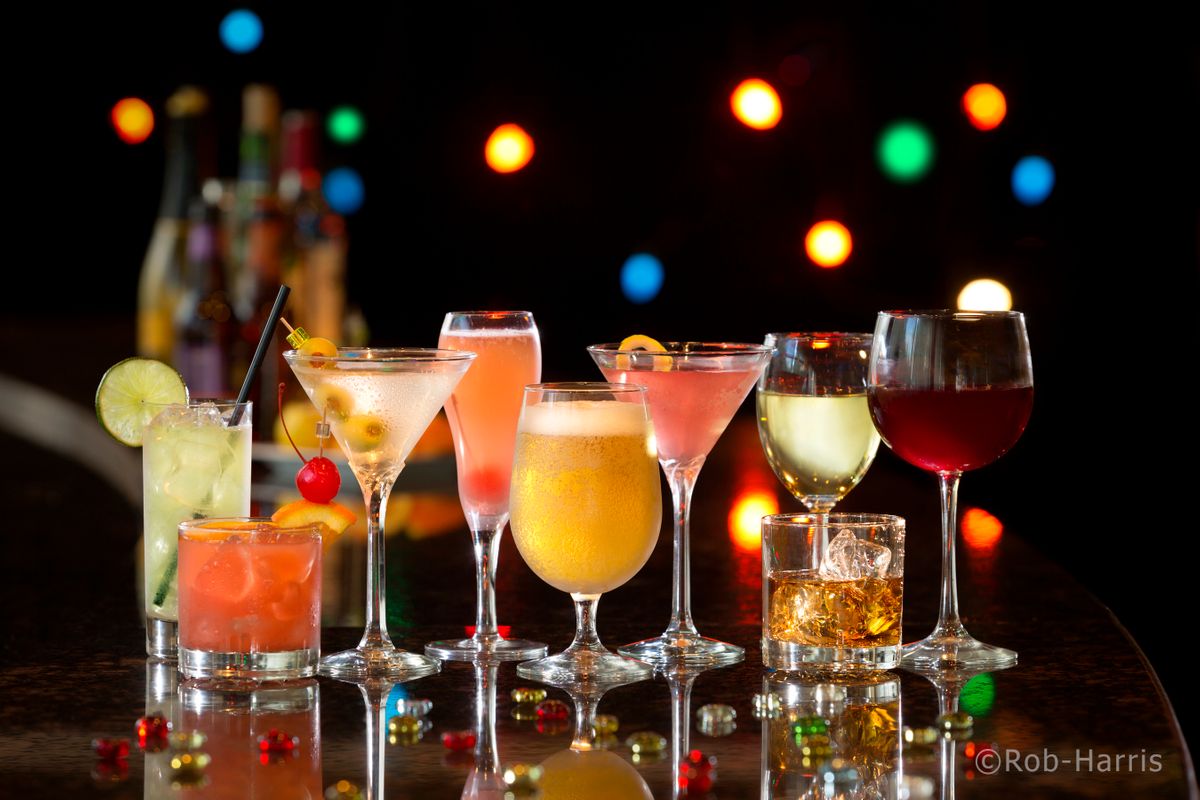
Some of our favorite shots are alcoholic beverages. Not for the reason you’re thinking – although we do love a good drink. Capturing the right beverage image challenges us to be creative, savvy and collaborative. Our goal is to leave your mouth watering and thirsty for more.
Each of our food and drink photography shoots follow similar stages. Here are our go-to stages for shooting beverages:
- Determine how drinks look when served. Think of this as a baseline. We want to see what a drink looks like out in the wild. This is what you would see if you sat down and ordered it for yourself!
- Is ice necessary? Some drinks are served over ice and some don’t need any at all. We answer this question right off the bat.
- If ice is necessary, do we use real ice or our fake ice? Believe it or not, ice melts faster than we can shoot. Sometimes, we have to pull out our magic hat (or fake ice) and make the drink work for us.
- Condensation on glass? Real condensation? Fake condensation? Drips down the glass? Or nothing at all? This normally comes from a collaborative conversation with the client.
- What type of garnish, if any? Will there be a straw? Maybe some olives? An orange peel? You get the picture. The flare that makes it fancy.
- Set up an extra drink. We like to have an extra “stand in” just in case the original doesn’t want to cooperate.
- Figure out background, surface, and overall look and feel. Consider this as setting the stage. The background of a shot has a lot to do with how you feel when you’re looking at it. We take time to get this part right.
- Set up camera and determine focal length of lens.
- Add lighting to create mood or drama.
- Shoot… then drink (not really).
This is a rough outline of the steps we take in preparation of shooting beverages. Anyway, it’s five o’clock somewhere. Drinks on us!


